Three steps, 10 to 15 minutes
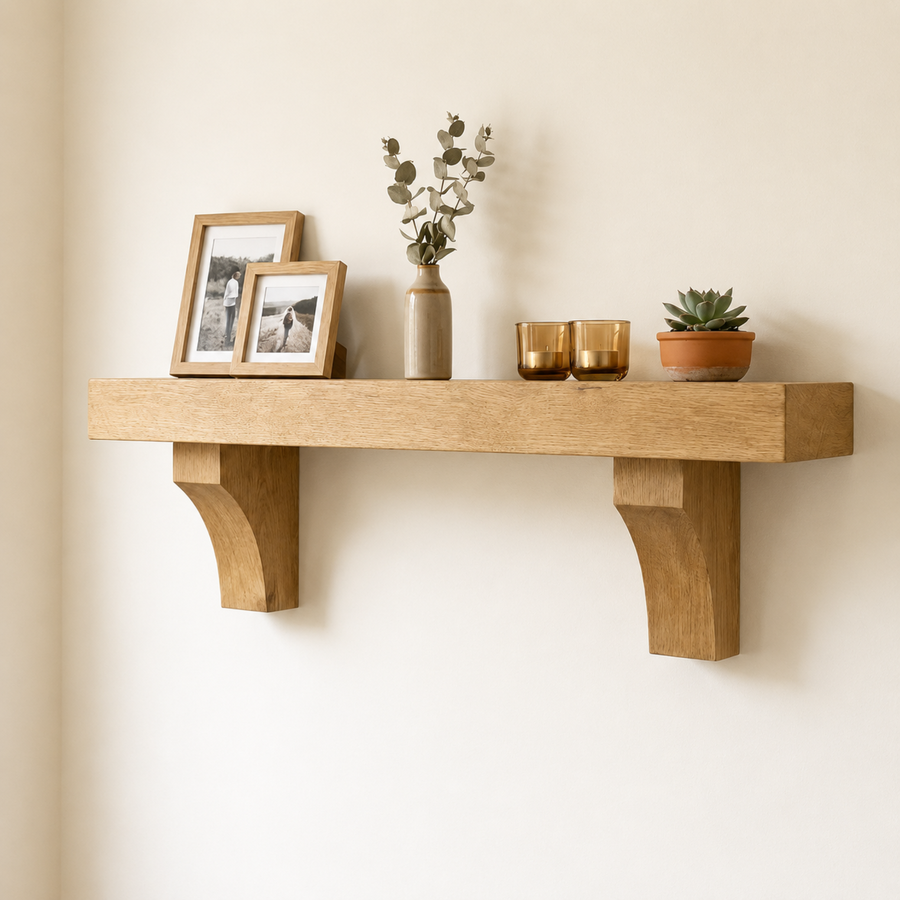
1. It arrives fully built. Shelf and corbels are one solid oak piece, with a keyhole fixing already set into the back of each corbel. Nothing to assemble.
2. Mark your two fixing points on the wall, level, and drive the supplied screws into the wall plugs. Leave about 3mm between the screw head and the wall.
3. Lift the shelf so both keyholes sit over the screw heads, then slide it down. Each keyhole draws the screw head tight behind the corbel and pulls the shelf flush to the wall.
Download the full fitting instructions (PDF) →
What's included
The shelf, built, with both keyhole fixings already in the corbels. Screws and wall plugs are supplied. You'll need your own drill, a screwdriver, a spirit level and a tape measure. Use the drill size marked on the wall plugs.
What your wall needs to be
Solid brick or block, with a minimum 60mm depth to fix into — not plasterboard alone. Solid oak is heavy, so the fixing has to be into something that will carry it.
From 150cm upward it is worth having a second pair of hands. The shelf has to be held level and lowered onto both screws together.
If your chimney breast is dot-and-dab
Plasterboard dot-and-dabbed over blockwork is common in 1980s and 1990s houses. The screws need to reach the blockwork behind the plasterboard, which means longer fixings than the standard kit. Send us a message before you order and we'll confirm the right approach for your wall.
Taking it down again
The shelf lifts straight back off the screws, so it can be removed and refitted cleanly if you redecorate. No adhesive, nothing permanent.
Fitting above a stove
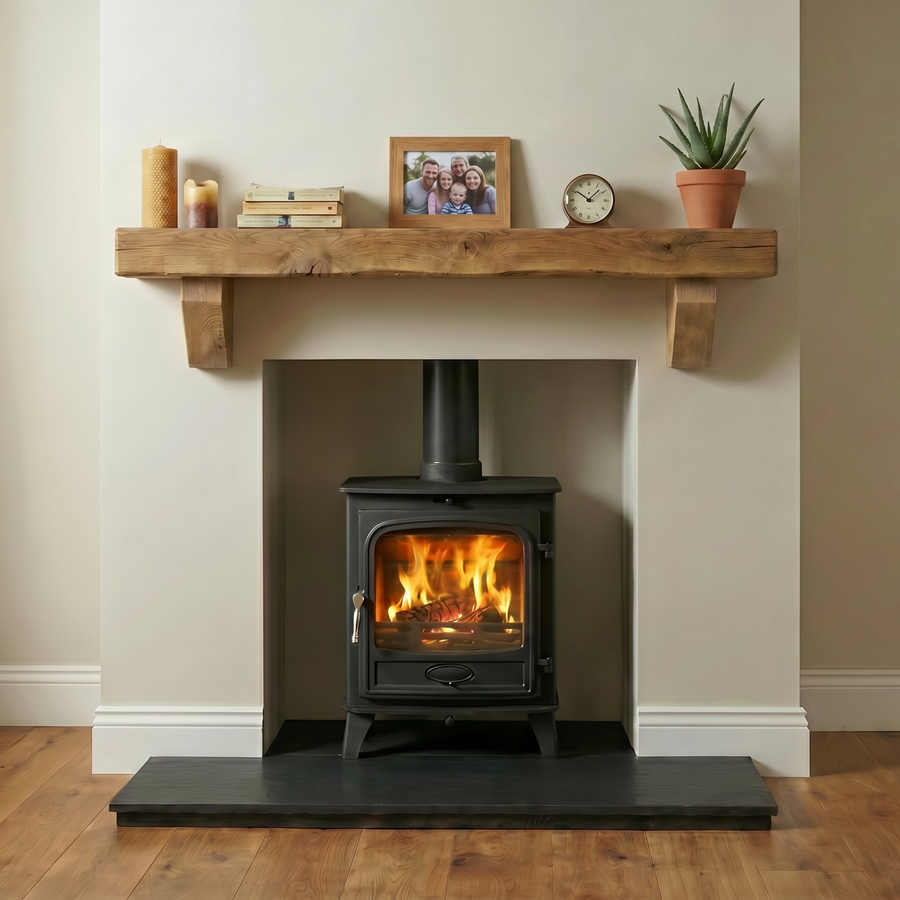
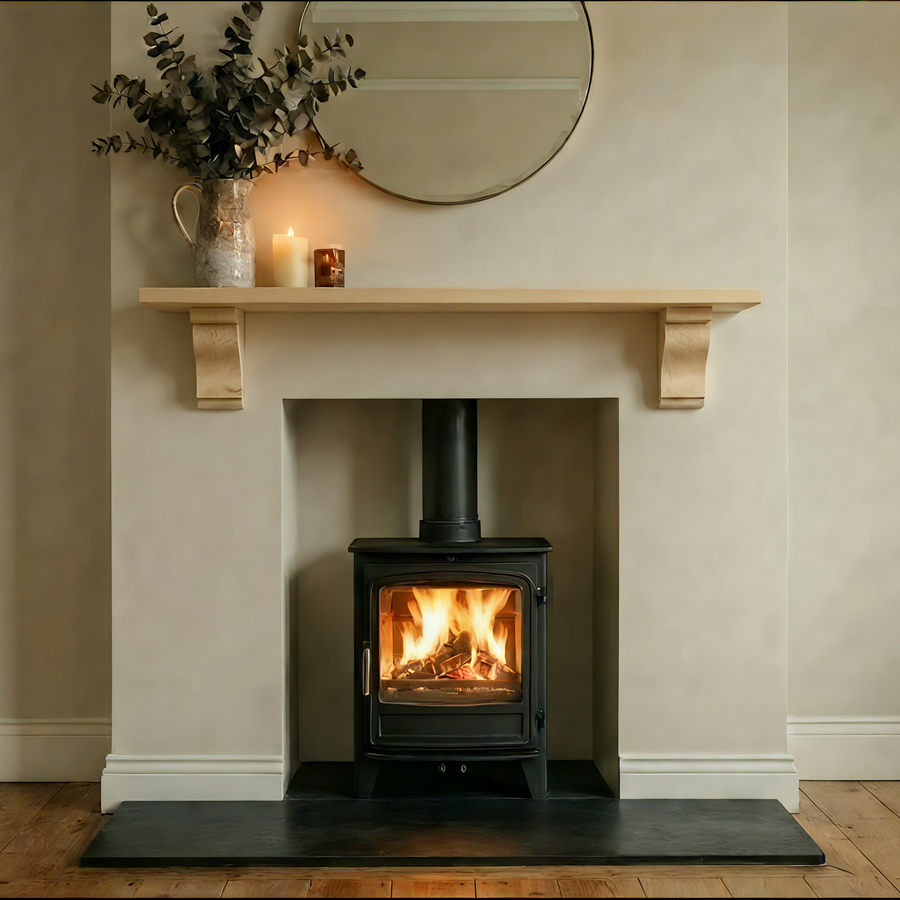
Oak is combustible. The safe distance is set by your stove manufacturer, not by us — it's in your appliance's installation manual and it varies between models. Your installer should be HETAS registered. If you're unsure, send us your stove model and fireplace measurements and we'll help you work out what length works.
Not sure what length you need? Read the mantel beam size guide →